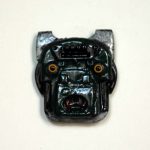
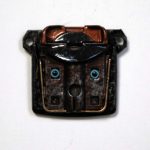
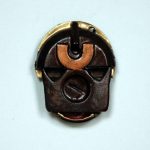
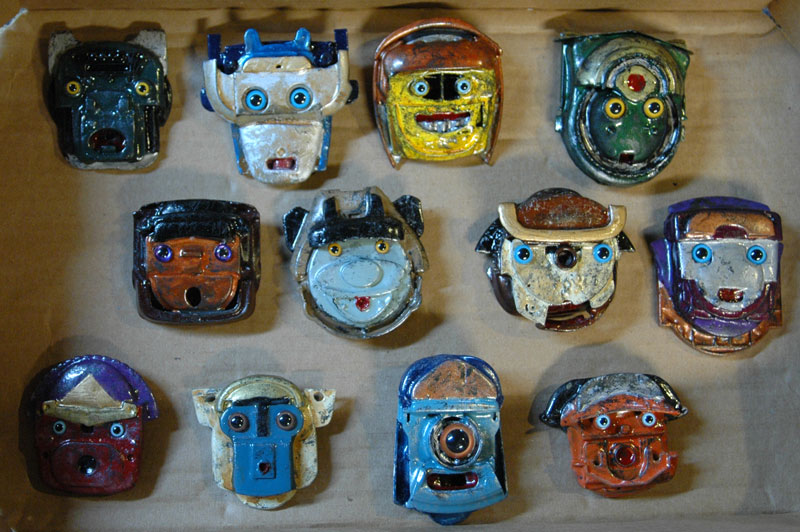
Among various other projects I have been working on, a new generation of pins and magnets just received a base coat of paint.
Given that this week promises rain, perhaps this will be a good time to start hand painting these guys downstairs!

Among various other projects I have been working on, a new generation of pins and magnets just received a base coat of paint.
Given that this week promises rain, perhaps this will be a good time to start hand painting these guys downstairs!
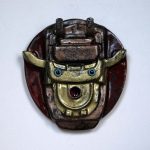
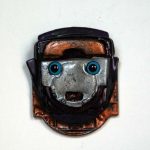
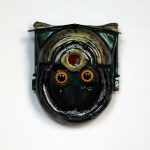
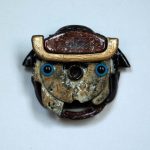
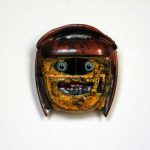
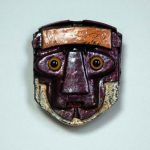
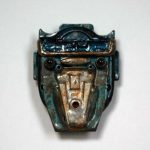
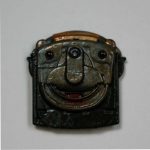
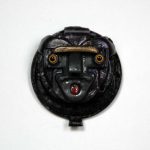
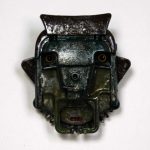
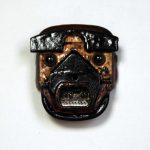
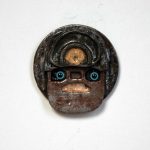
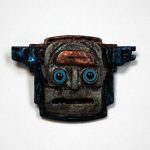
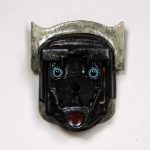
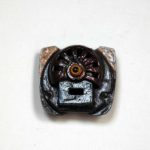
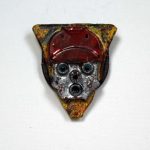
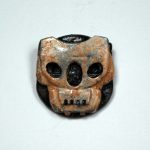
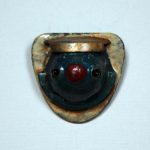
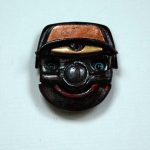
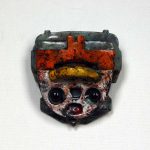
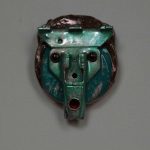
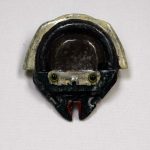
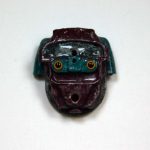
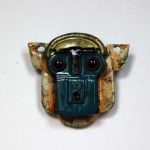
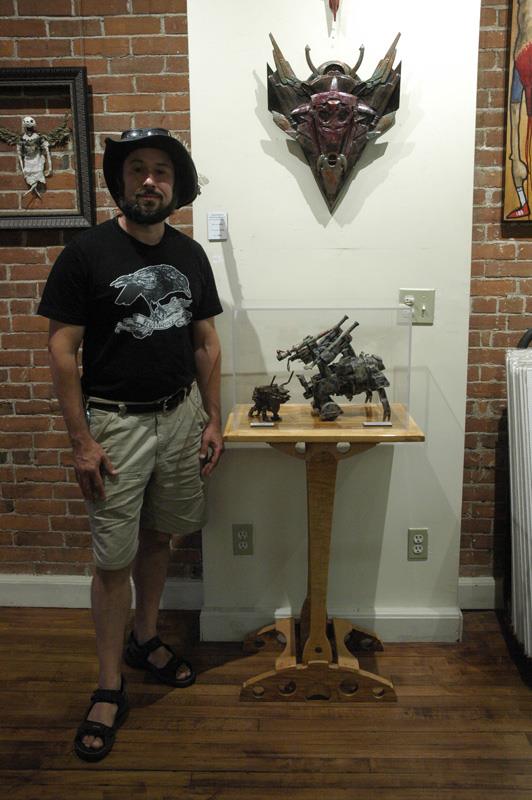
Last night at the opening reception for the South County Art Association‘s 91st Annual Members’ Show, I received an award that means a great deal to me- the Visconti Sculpture Award for best sculpture, awarded for my found object assemblage mask “Dream Eater”
This award is given in memory and honor of the late James Visconti, a brilliant artist in many media who was a friend, teacher and mentor to me many years ago.
I would like to think that he would be very pleased to see how my work has grown and evolved over the years.


Of all the awards I have been given over the years, this one is definitely the closest to my heart.
Getting ready for a new opportunity in East Providence-the East Providence Heritage Days.
I will be exhibiting on Saturday, July 14th from 7-10 PM. At that event I will have my new pin and magnet designs for sale, and these are the newest batch that will be available!
A special thanks to Jennifer Gillooly Cahoon of Heartspot Gallery, who made this opportunity possible!


This past year, the University of Rhode Island added some wonderful new tools for students and faculty, including 3D printers, a VR setup, and a brand new 85 Watt Laser cutter. As soon as I discovered this, I knew I needed to get to work!
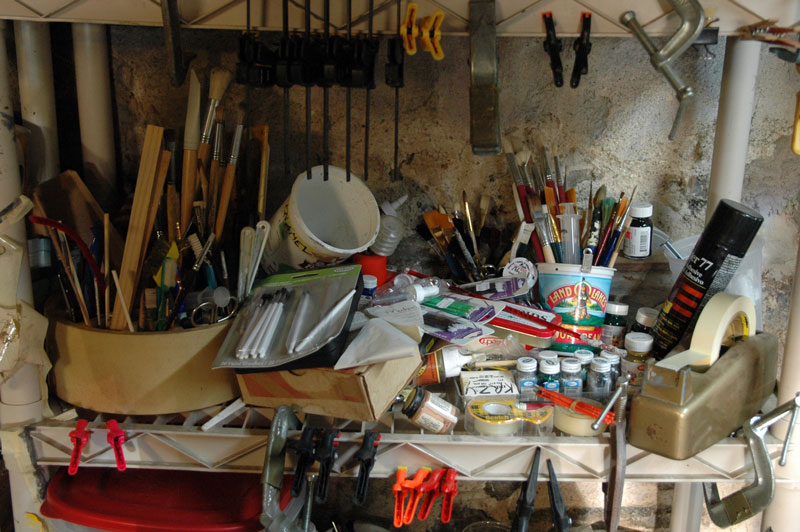
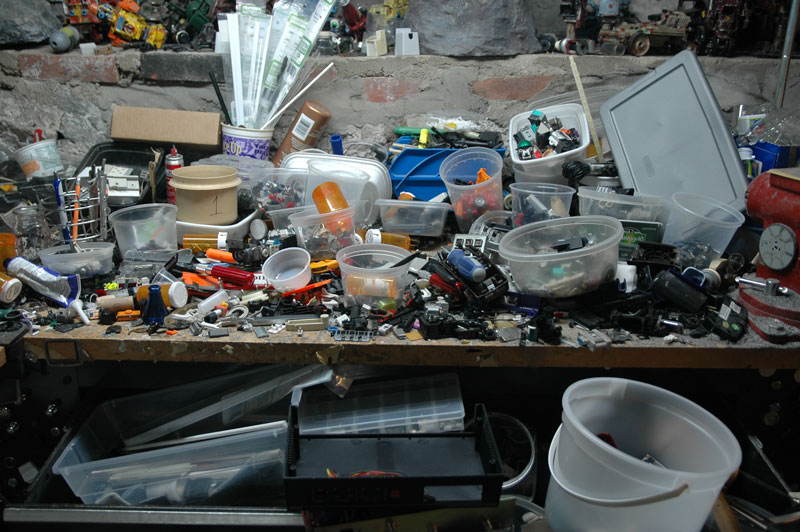
Now I had spent a bit of time with the laser cutter setup at AS220, so I had a basic sense of what this tool was capable of. As I considered various options, I was also busy with trying to make sense yet again of the mess that is my basement workshop. The workstation where I paint my sculptures was a particular mess, with various jars of paint scattered all over in no particular order.
Something needed to be done. I had seen that some stores like Micro Mark were selling press-fit kits for paint racks made of MDF (Medium Density Fiberboard). Perhaps I could make my own.
For my medium, I chose to use transparent acrylic sheet stock. One of the virtues of this material is that it would likely make it easier to see what colors were in which racks at a quick glance. Acrylic would also be less likely to be vulnerable to moisture or mildew, which again is a virtue in a basement workshop.
The first part of the process was some initial sketching and design work. As ever, a sketch is a far less expensive approach than simply running stock through heavy equipment and hoping for good results.

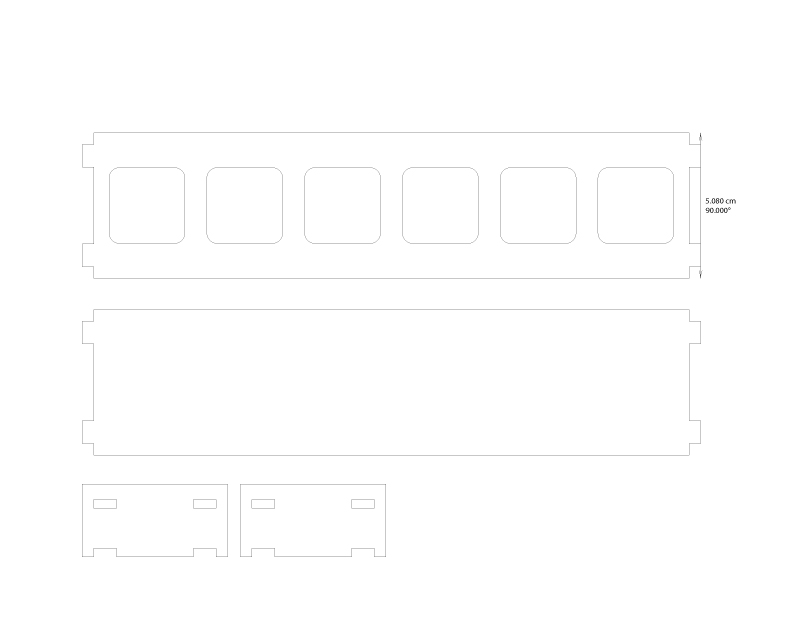
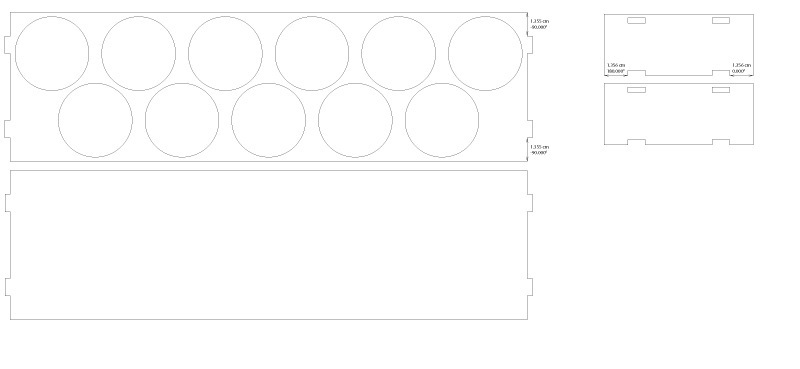
Once I had the basic idea in place, I created the basic layout in Adobe Illustrator. Given that the laser cutter requires files to be in a vector based format, this was a crucial part of the initial setup.
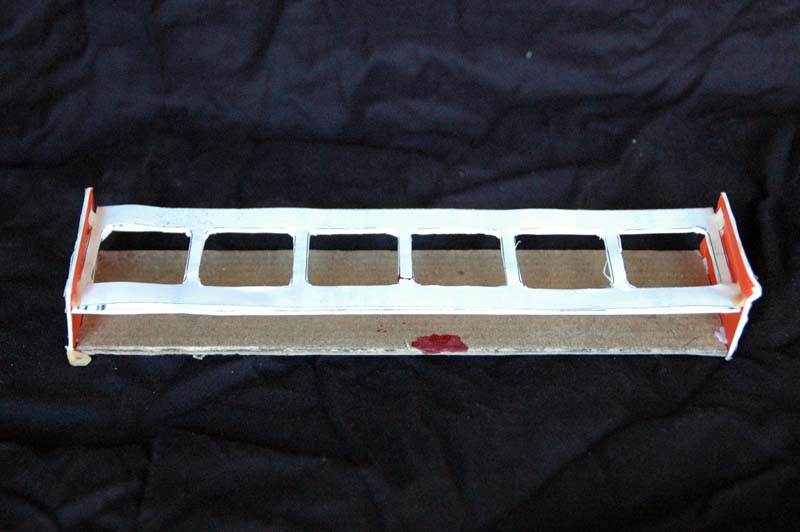
I then printed out the file on paper and used it as a template, to make a quick mock-up in mat board, which I cut with a basic Exacto knife and assembled, so see if my basic structure made sense.
So far so good. The next phase was to do a test using the acrylic stock, and see how that performed. I cut the acrylic and assembled the pieces, using a special plastic adhesive.
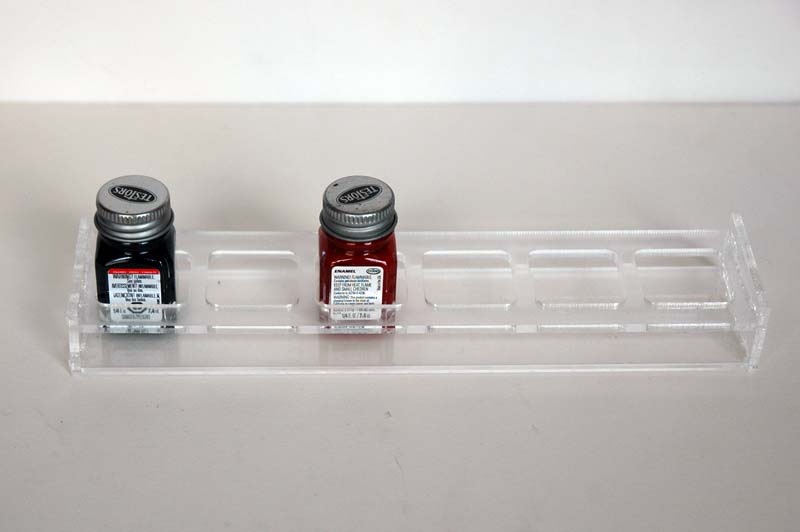
Pretty good, but the holes to put the bottles in were a nudge generous (but still usable), so I immediately revised the illustrator file to tighten the tolerances just a bit, and prepared for a second printing.
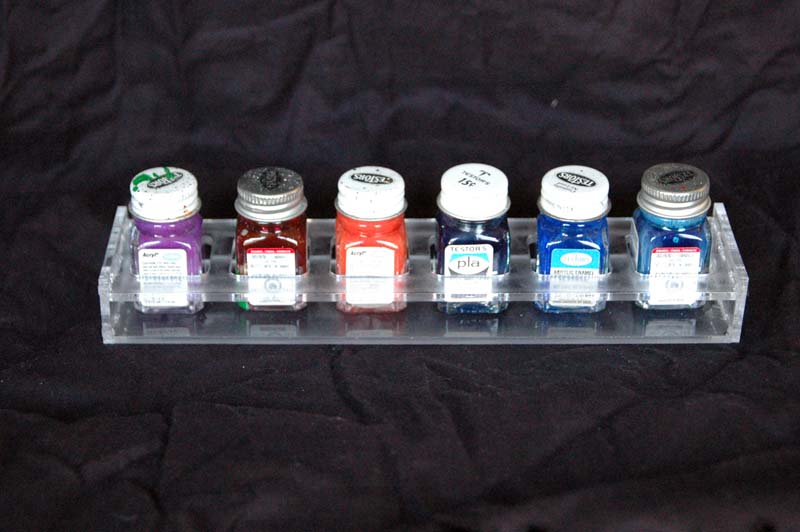
Now this rack is designed specifically to hold the small, square Testors bottles, but the other sort of paint that I often use is the Tamiya Acrylics, which would need a different configuration.
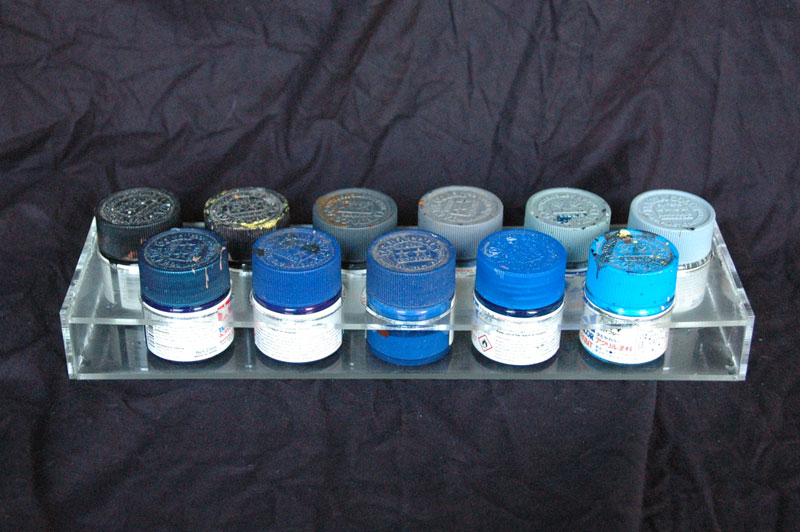
That in mind, I decided for a layout that would offset two rows of bottles, in order to maximize space. The Tamiya bottles have colored caps to help with quick identification, and The transparency of the acrylic would help compensate for any degree to which the front row might slightly obscure another bottle.
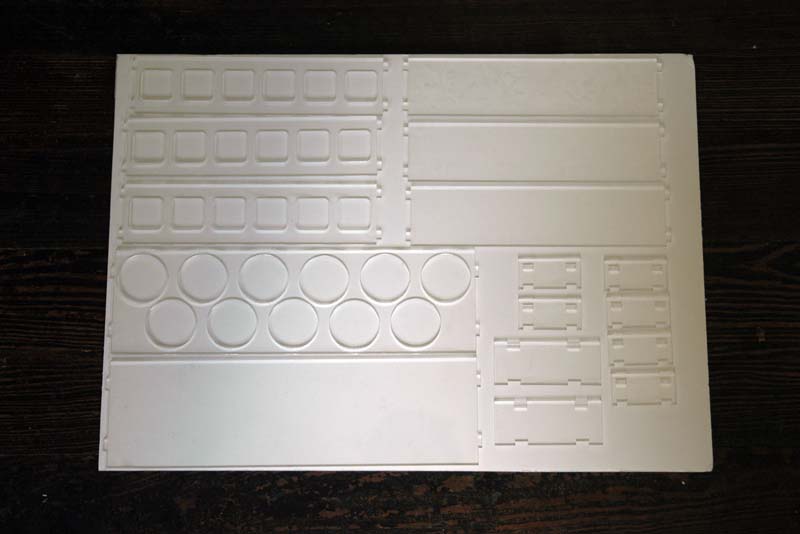
To make good use of my time, I brought both the revised square bottle cutting template, and the new round bottle template. Both cut successfully, providing me with a nice selection of new pieces ready to assemble.
The new revised Testors bottle racks worked out quite nicely. I made several of those, and immediately put them into service.
Now the rack for the Tamiya paints cut just fine, but as I went to test out the prototype, I discovered two minor errors..
The first error was in the placement of the peg-holes on the legs. They were off my just a nudge from center, which means that the edges were not fully flush on the assembled rack. Fortunately, they were consistent in distance with the proportions of the pegs, so this did not interfere with assembly.
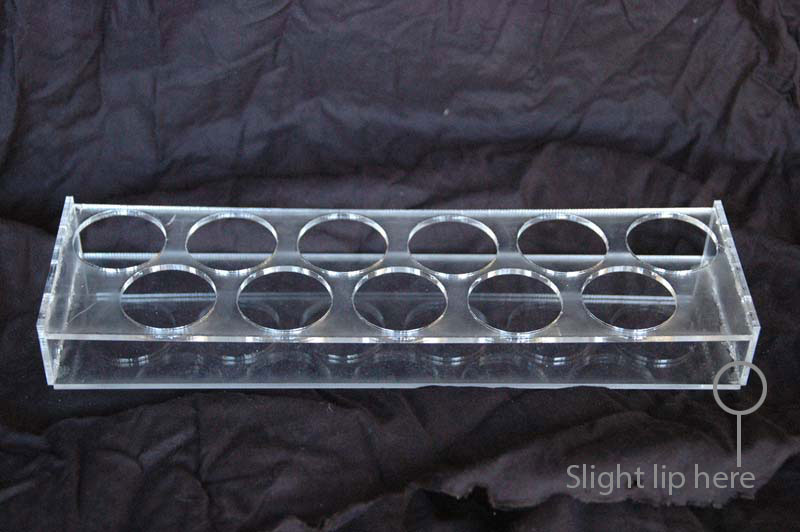
Now the other issue I discovered is that not all of the holes were the exact same proportion, so the tolerances on some of them were unforgiving when it came time to test the rack with paint bottles.
The rack does accommodate the larger round Testors Model Master bottles, so this was not wasted effort or material, but it serves as a cautionary note to be sure and double-check one’s dimensions before sending to the machine, or as the old carpenter’s adage puts it : “Measure twice, cut once” !
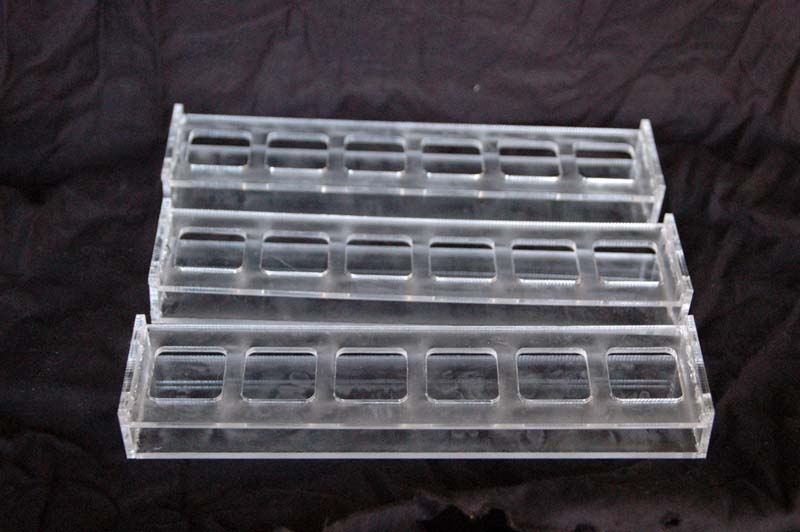
So in light of this discovery, I duly adjusted and double checked my files and set up a new round of cutting the following week. That day’s work brought success, with three brand new trays with perfect tolerances in all dimensions!

So I am really rather happy with my progress so far in using these tools. These are items that conventional cutting machinery would have experienced a far greater amount of time and difficulty with, particularly in using acrylic/Plexiglas as the material!
I am very much looking forward to seeing where I can go next!
As promised, I now have some pictures of some of my most recent pins and magnets, along with previous designs, all of which will be on sale at South County Art Supply!


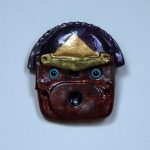
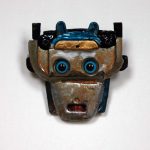
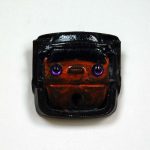
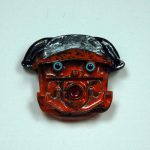

Just got these little characters epoxy-coated this morning, as the next two days should be dry and mild, with temperatures in the mid-50s (Not bad for the beginning of December!) One they are dry, I can give them primer, pain and eyes!
Over the weekend, I also hope to get some better shots of these recently finished pieces.
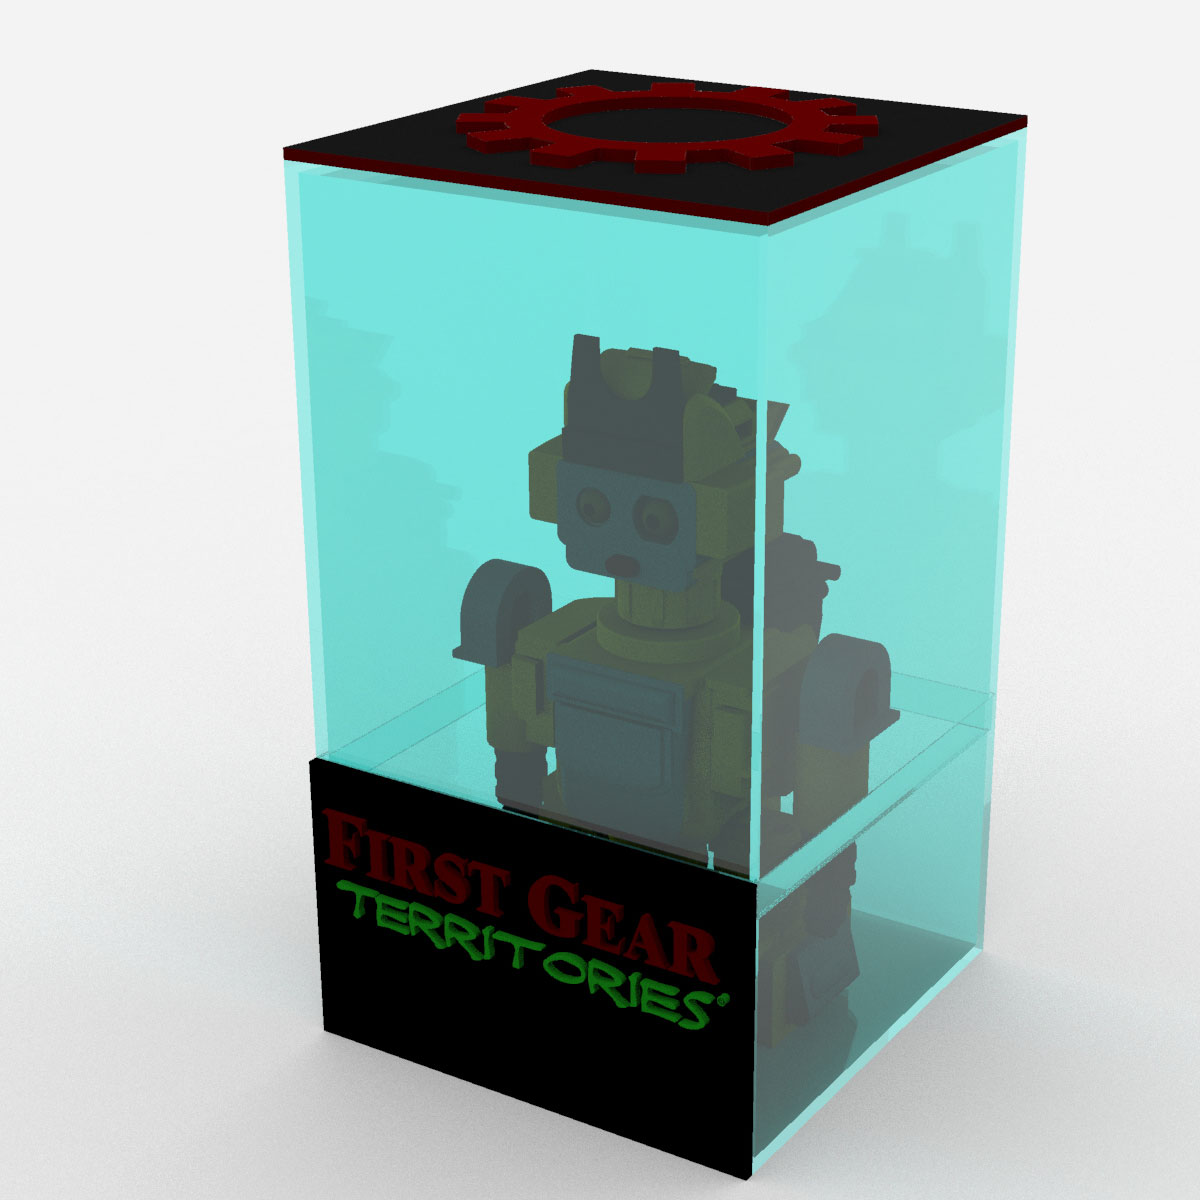
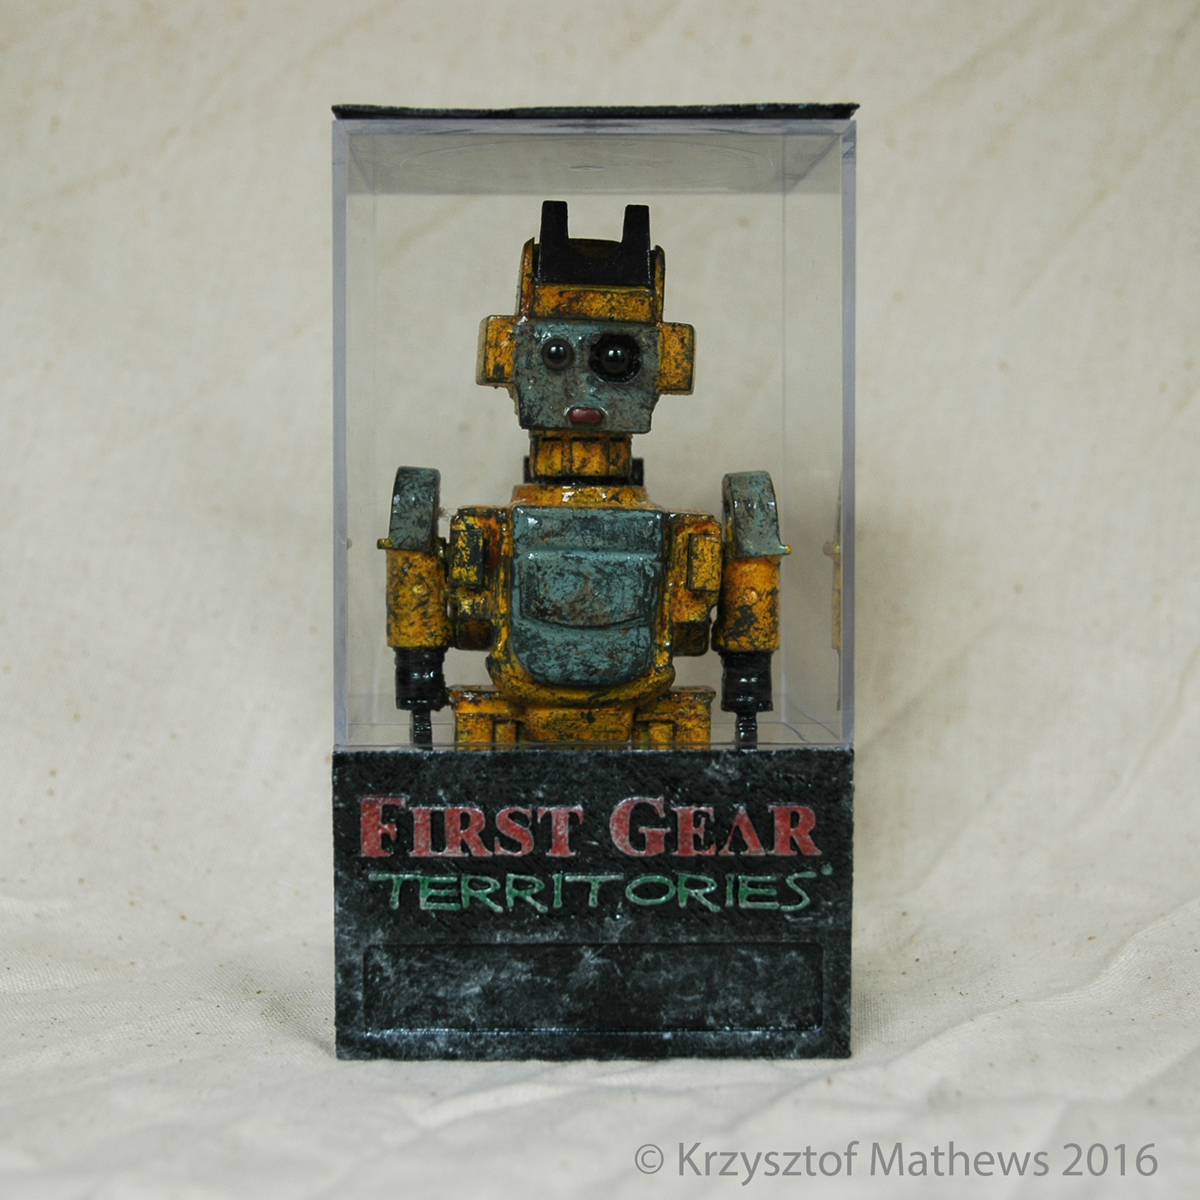
This past year, I’ve been working on a project that has been some time in the making. I had been sketching options for small enclosures that could serve to better present some of my individual sculptural figures, and this summer has brought forth the first working prototype of this design.
I started with some initial sketches..


I then took a few minutes in Rhino to set up a test render, featuring the virtual model. This also allowed me the opportunity to build 3D models of the logos, which would come into play very soon.
Working with the good folks at the Cranston Public Library, I sent off the 3D files of the logo plates in the “.stl ” file format. Within a matter of days, these were successfully 3D printed in polystyrene plastic.
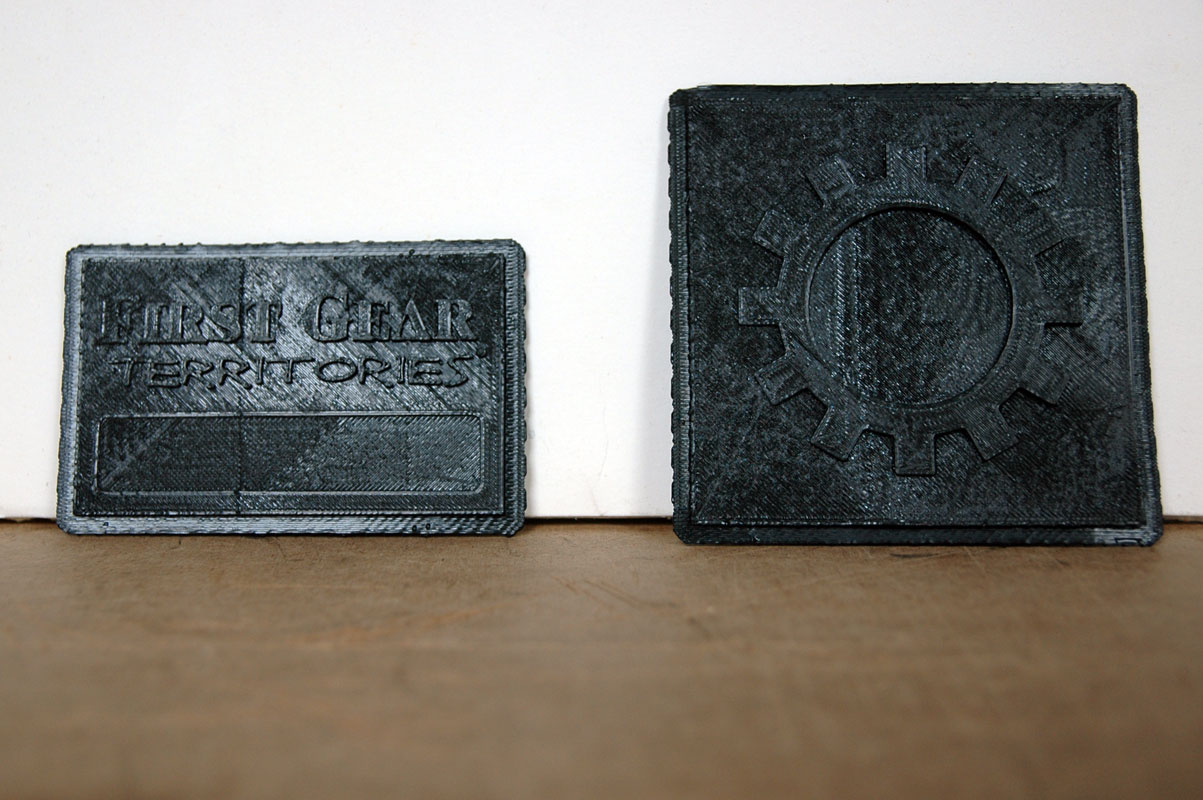
These prints needed a bit of fine tuning. The edges had slightly curled, through no fault of the folks at the library (humidity played a major part in this) so I took some time to use boiling water in order to gently bend these forms back to true. Following that, I used acetone and some sandpaper to smooth away the marks on the surface. At that point, it was time to prime and paint!
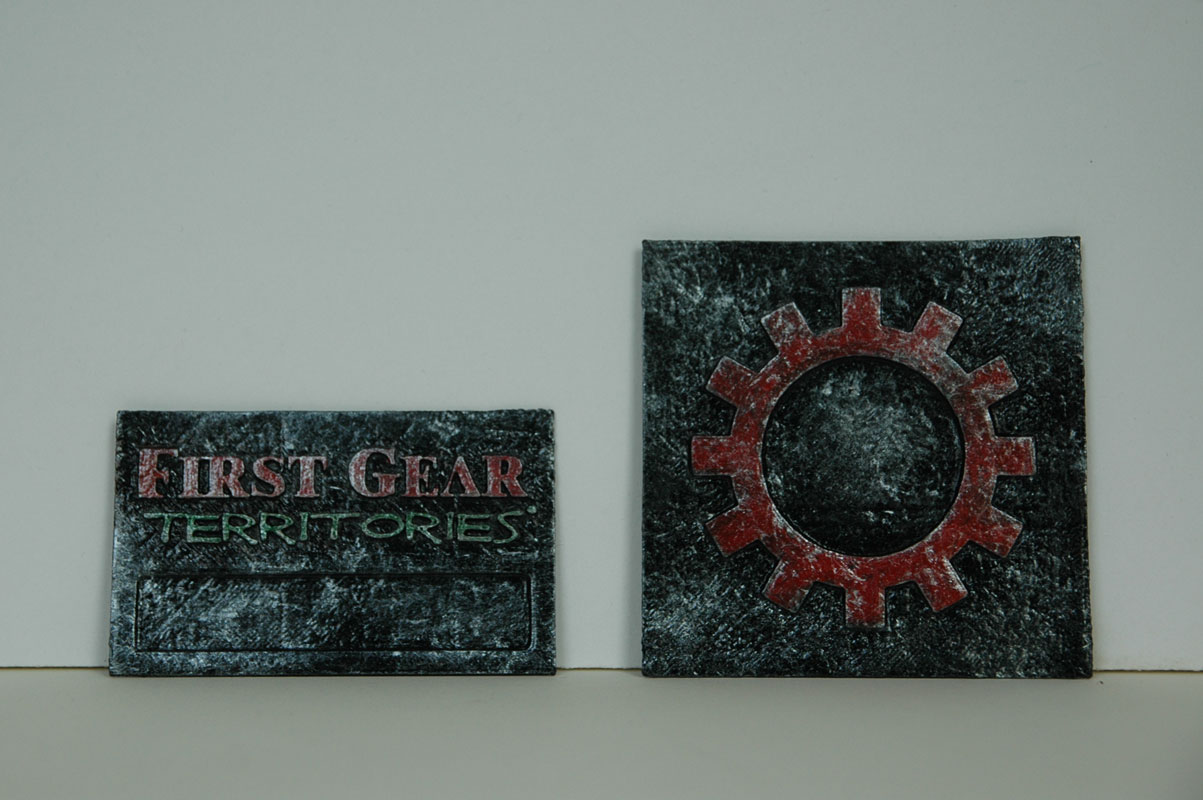
Much better! Now, I got to work on fitting these to the case.
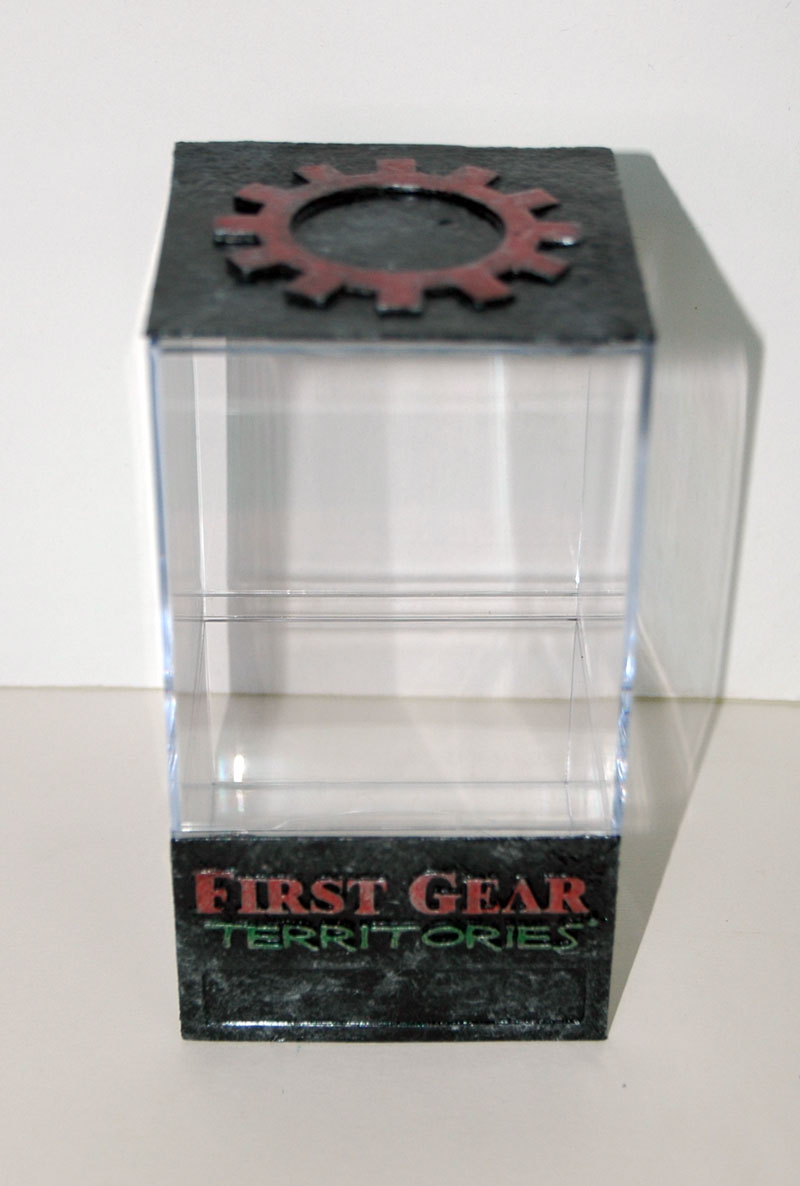
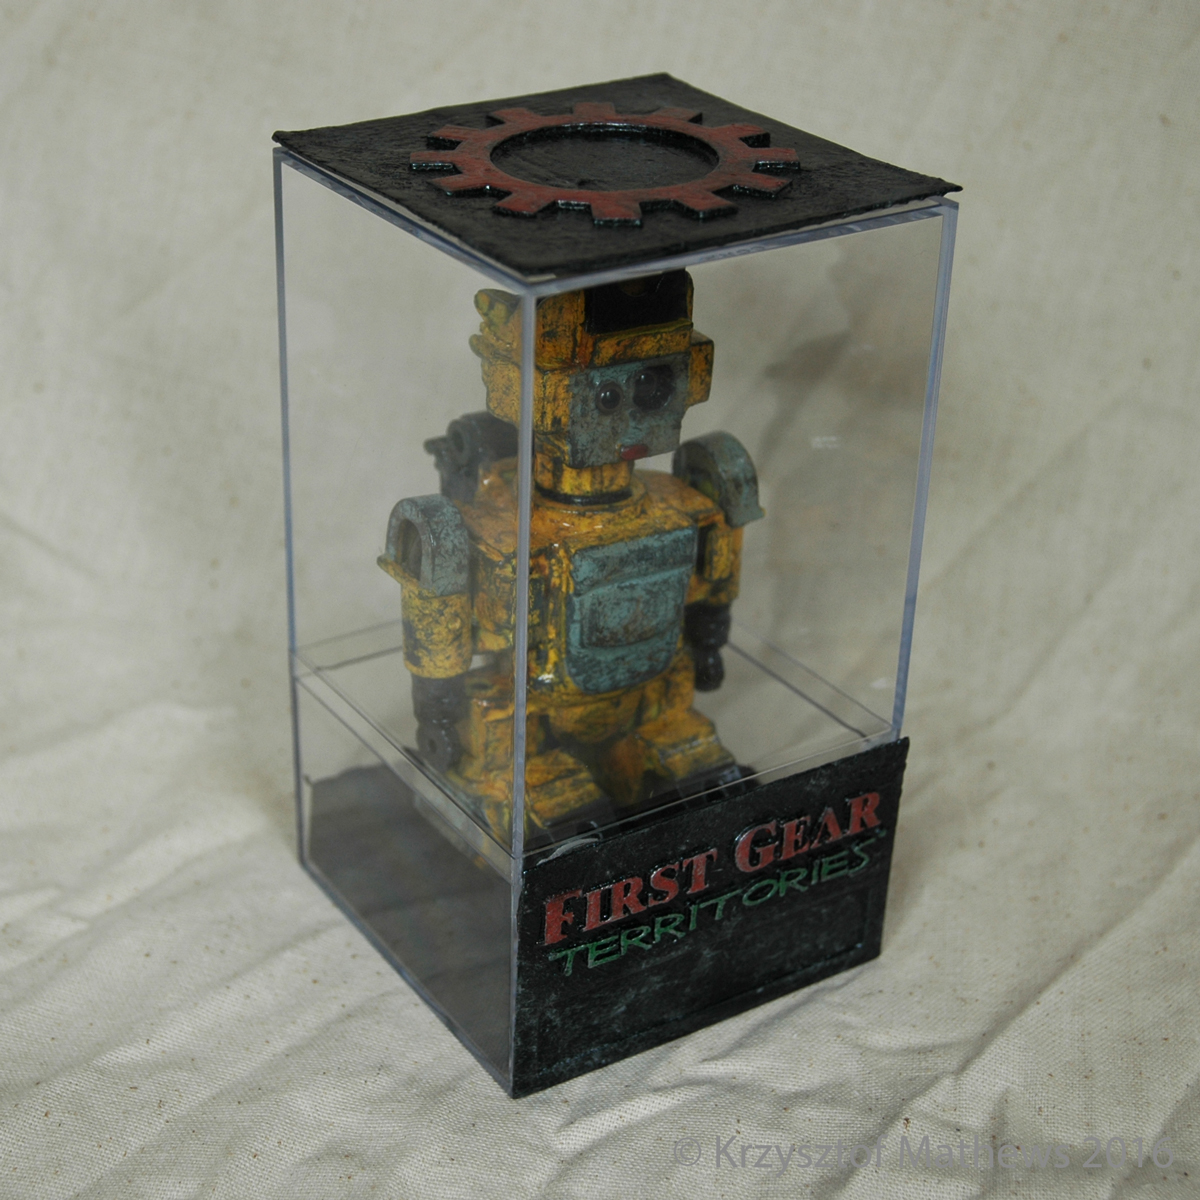
The case is actually a basic clear acrylic display box sold at the Container Store, with optimal proportions for my figure.
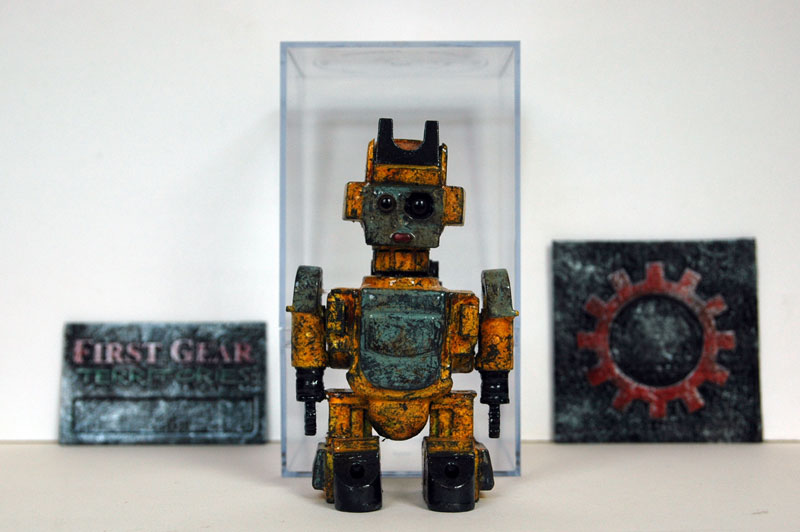
I glued on the logo pieces, and voila!
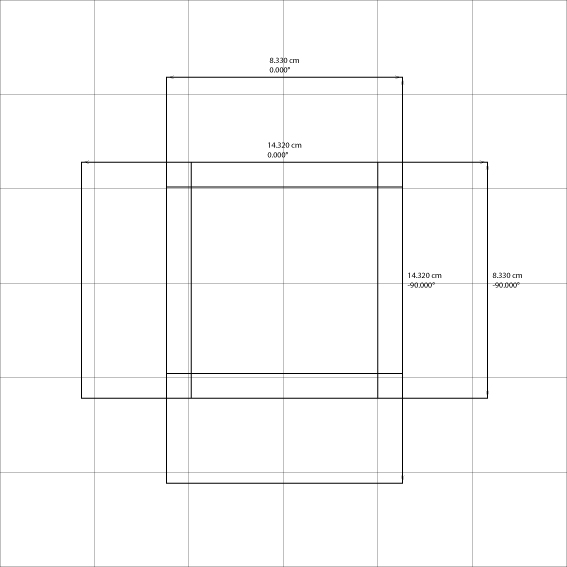
Now came the last part. I needed a bit of a shim so that my character would sit a bit higher in the case. Believe it or not, this was actually a bit tricky on account of the tolerances. I first created a basic template that I printed out as a reference.
My first attempt involved a piece of cardboard that was just a nudge too snug. I then decided to play with thin, black foam core stock, which I cut to the right proportions and then beveled on the inner edges to help the folds work smoothly.

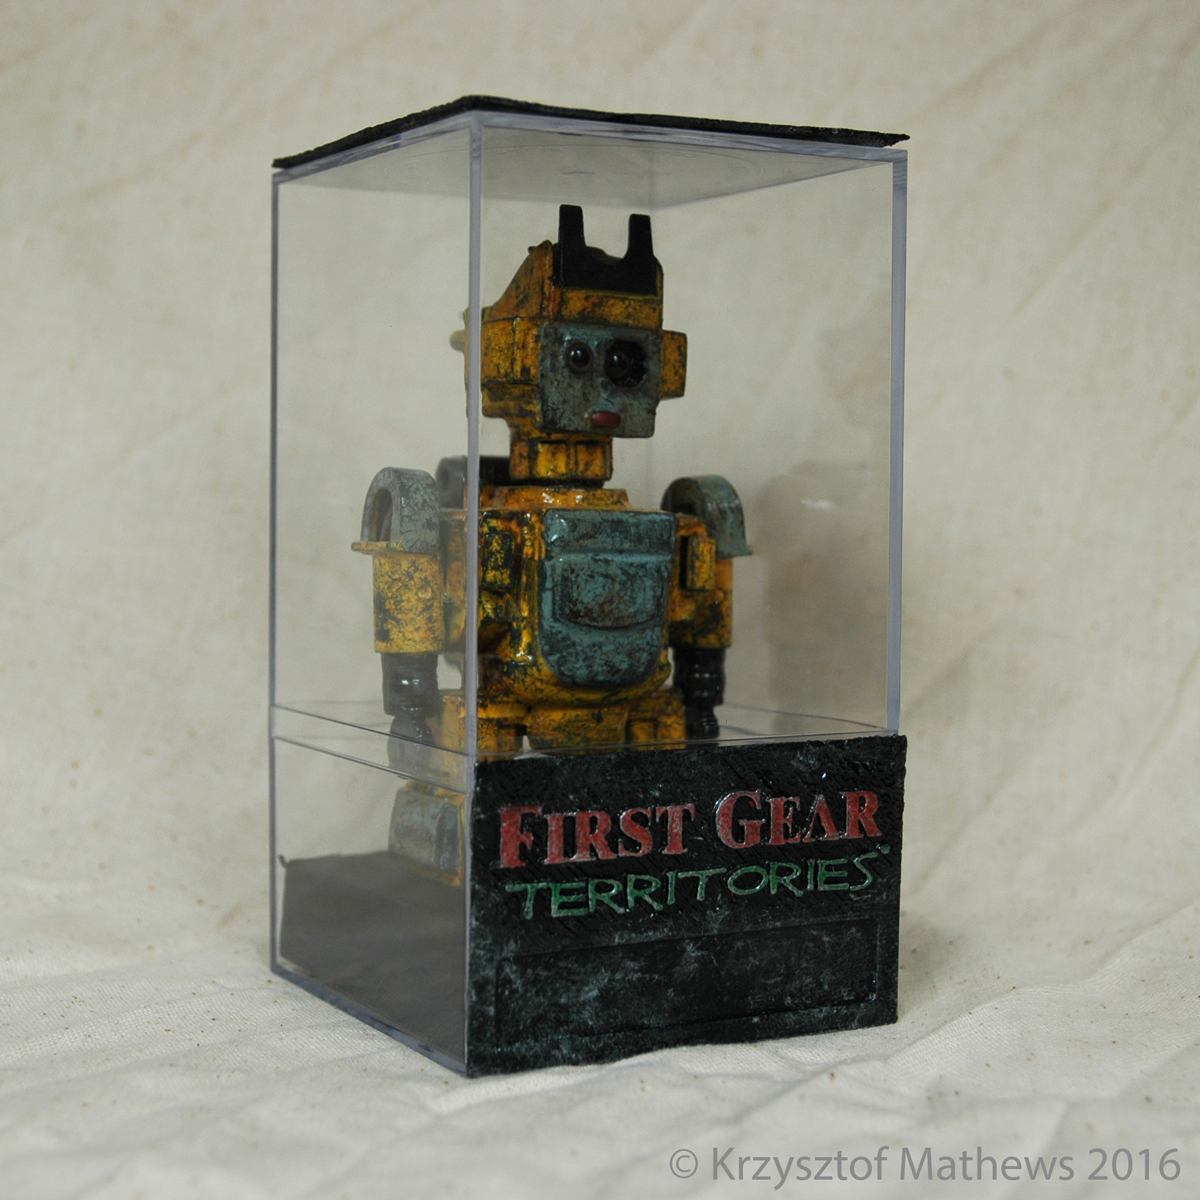
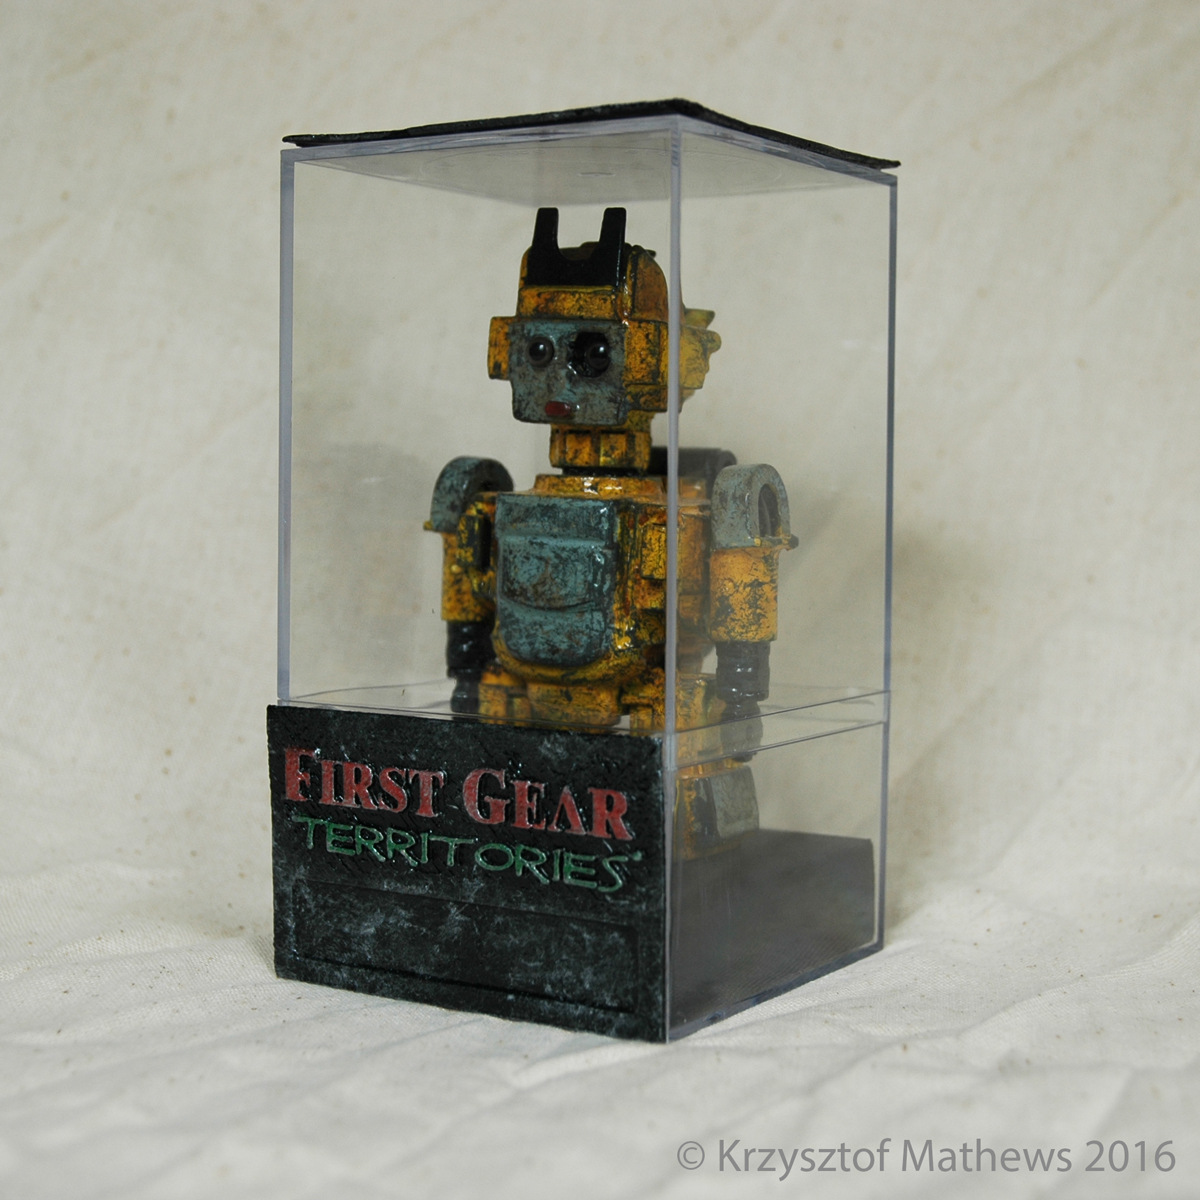
There we go. Now he has good positioning so that he can be well seen in his new home!
So overall, this was a good project. There were a few challenges involved with the various materials and the tolerances thereof, but I am quite satisfied with the results, and glad that I had the opportunity to properly experiment with some new processes. I’ve already picked up another clear case for the next set of tools and modifications to play with.

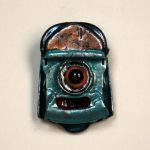
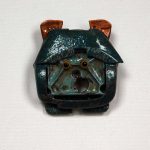
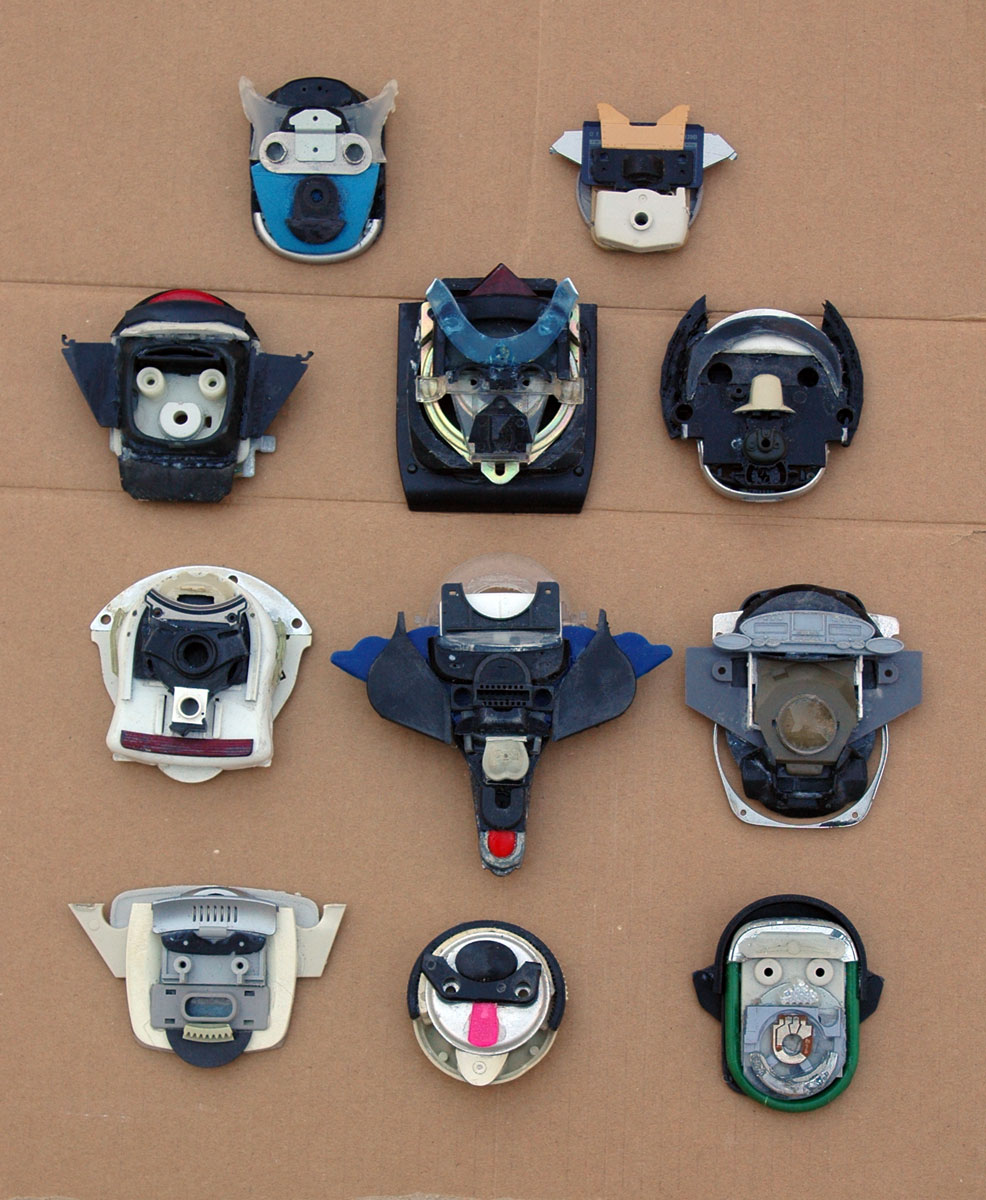
As the last snow melts and the greenery emerges, other treasures appear in the edges of my yard… Little bottles thanks to passing cars.
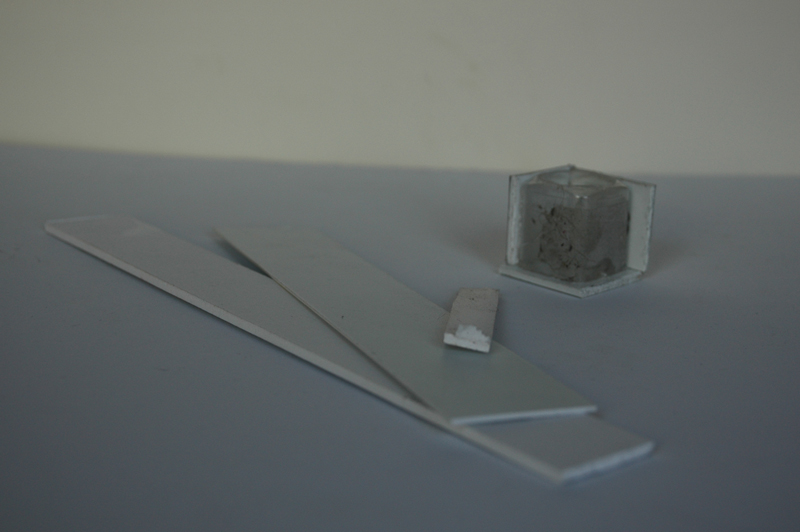
Fortunately, as a scratchbuilder, I’ve actually found a rather good use for these unorthodox deposits- they make a great initial structure for making cubical forms.
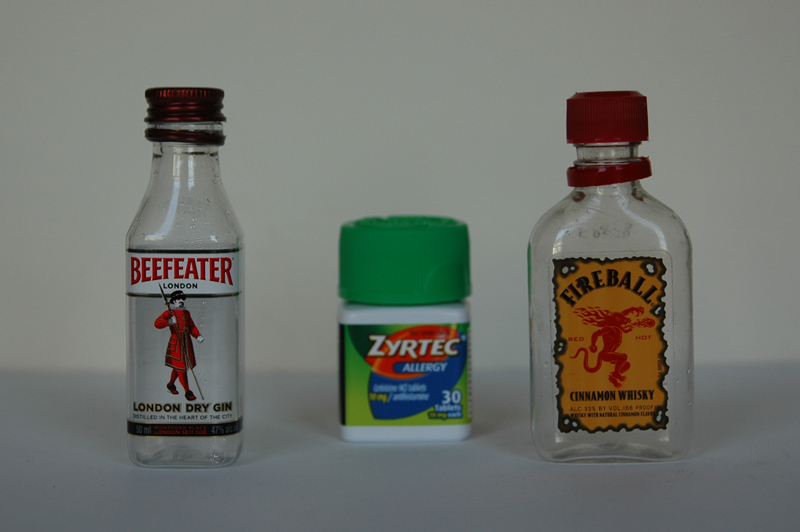
In this shot you can see a variety of shapes and sizes. The first step of course is to thoroughly wash these items , remove the labels, and trim of the neck.
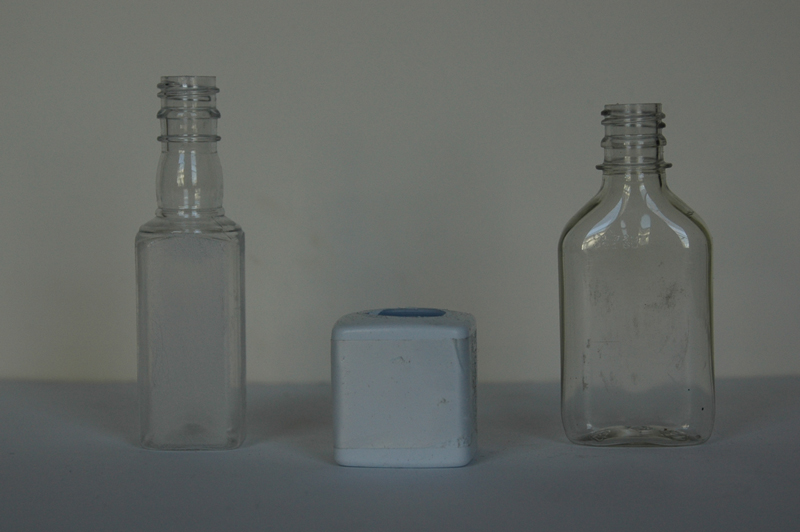
For the next part, I often use a piece of Gatorboard as the foundation. For those who are not familiar with this material, Gatorboard is a laminated Plastic sheet that is used often for outdoor signage in kiosks or on the sides of buses. It can be cut, sanded, carved and glued much as one would work with polystyrene, and it is perfectly receptive to paint applications.
http://www.dickblick.com/products/gatorfoam-board/
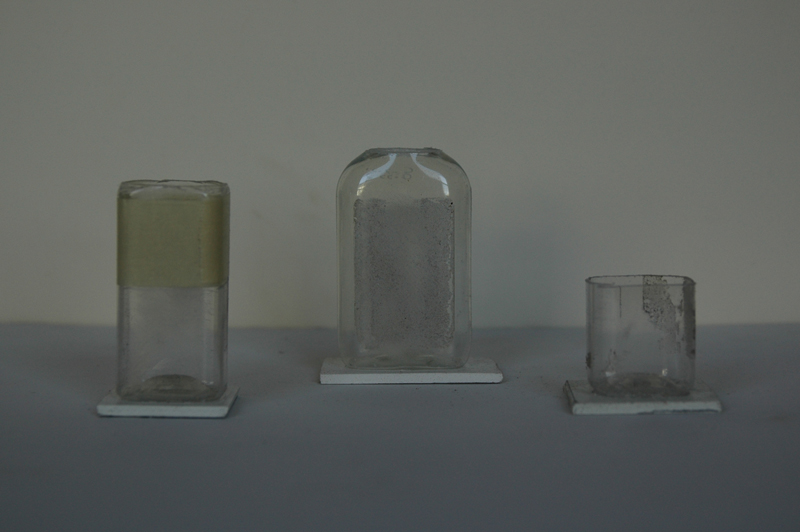
From that point onward, it’s a simple matter to cut and attach the side and top, made from gatorboard or sheet styrene. Gaps can be filled with modeling paste or putty.
The resulting cuboid forms can then be sanded and leveled.

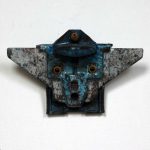
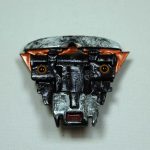
And at that point, one has a nice beginning shape to which other parts and pieces can be attached to create various bits of machinery or equipment. In my case, a variety of computer monitors.
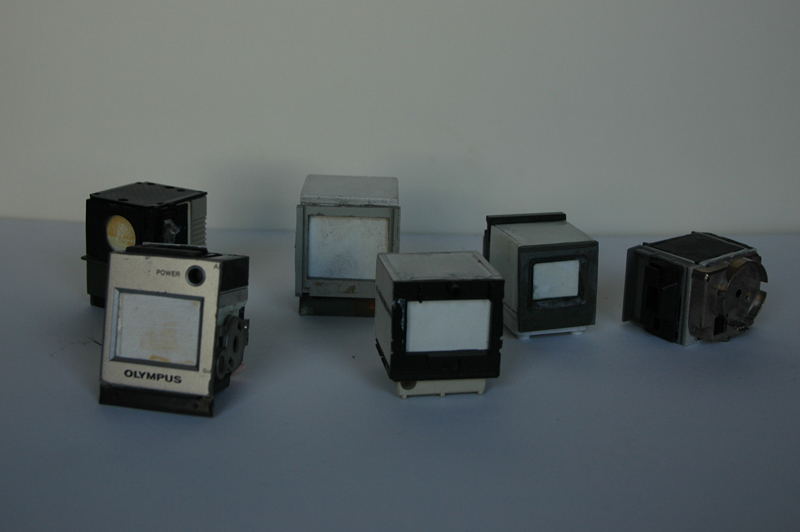
And here, the results. Having primed the final assemblage with some Krylon Fusion paint, I can then use a combination of Enamel and acrylic spray and model paints to create the surface and add weathering and distress effects.

So once you start to develop that “X-ray vision” in which you see objects not as discrete items, but rather as shapes and forms, you can find all sorts of uses for the most unconventional of materials.
Early winter is always a bit of a slow time. Through November and December, most galleries and art associations tend to put their emphasis on holiday sales and themed shows, and January and February can be a real challenge with weather here in New England.
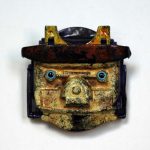
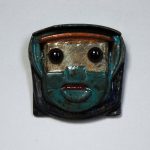
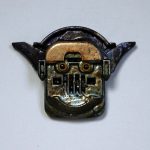
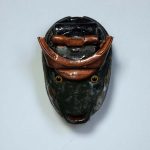
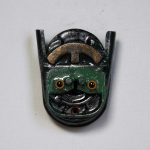
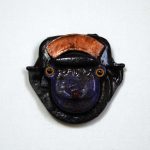
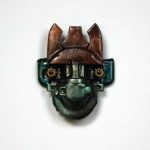
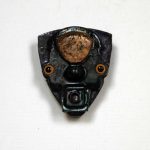
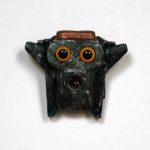
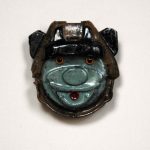
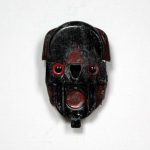
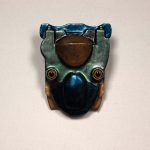
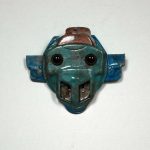
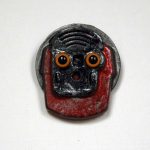
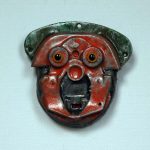
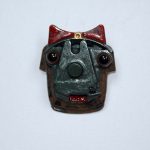
Now in March, however, DeBlois Gallery in Middletown is holding a juried, themed show titled “Face it”
http://www.debloisgallery.com/
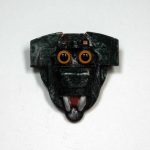
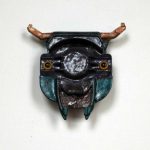
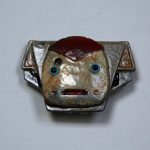
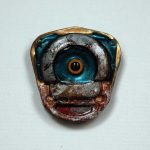
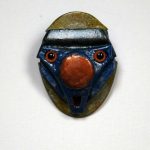
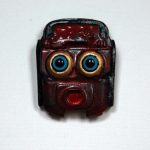
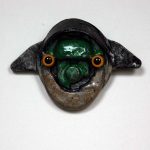
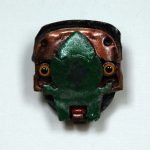
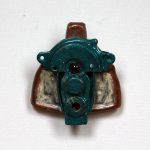
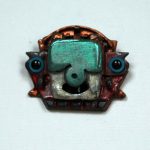
From what I saw when I dropped off work this past Sunday, it would appear that I am one of many folks who were glad for this opportunity to get out and exhibit some work. I decided to put in two of my mask pieces: “Seer”, and “Voracious”.
This should be a great show!
One of the traditions that I began some while back was to create my own holiday cards to send out to friends and family. I now tend to plan these cards months in advance, as the sketching modeling and setup often requires a fair bit of preparation. It is well worth the effort, as it gives me some great artwork that I can share!
Here are the designs that I created from the years 2003- 2013. Enjoy!