This past year, the University of Rhode Island added some wonderful new tools for students and faculty, including 3D printers, a VR setup, and a brand new 85 Watt Laser cutter. As soon as I discovered this, I knew I needed to get to work!
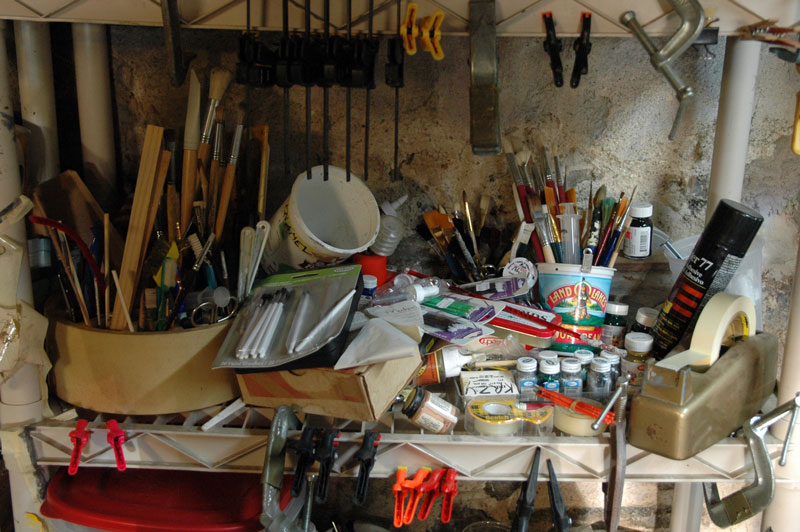
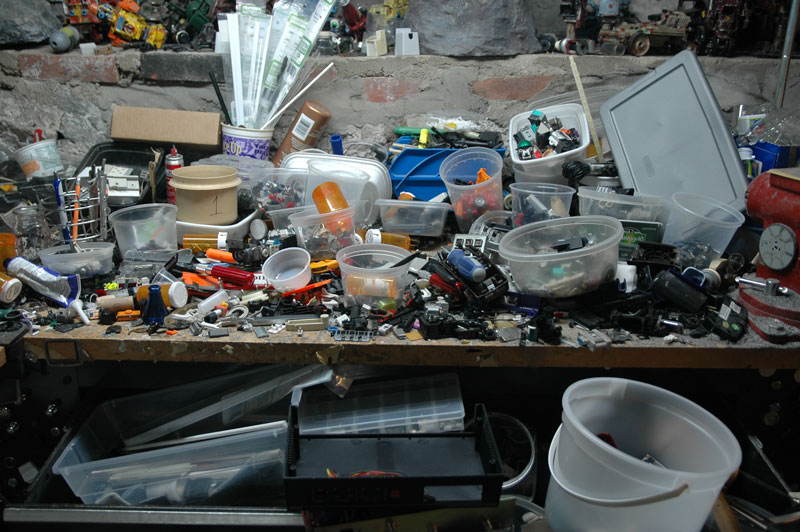
Now I had spent a bit of time with the laser cutter setup at AS220, so I had a basic sense of what this tool was capable of. As I considered various options, I was also busy with trying to make sense yet again of the mess that is my basement workshop. The workstation where I paint my sculptures was a particular mess, with various jars of paint scattered all over in no particular order.
Something needed to be done. I had seen that some stores like Micro Mark were selling press-fit kits for paint racks made of MDF (Medium Density Fiberboard). Perhaps I could make my own.
For my medium, I chose to use transparent acrylic sheet stock. One of the virtues of this material is that it would likely make it easier to see what colors were in which racks at a quick glance. Acrylic would also be less likely to be vulnerable to moisture or mildew, which again is a virtue in a basement workshop.
The first part of the process was some initial sketching and design work. As ever, a sketch is a far less expensive approach than simply running stock through heavy equipment and hoping for good results.
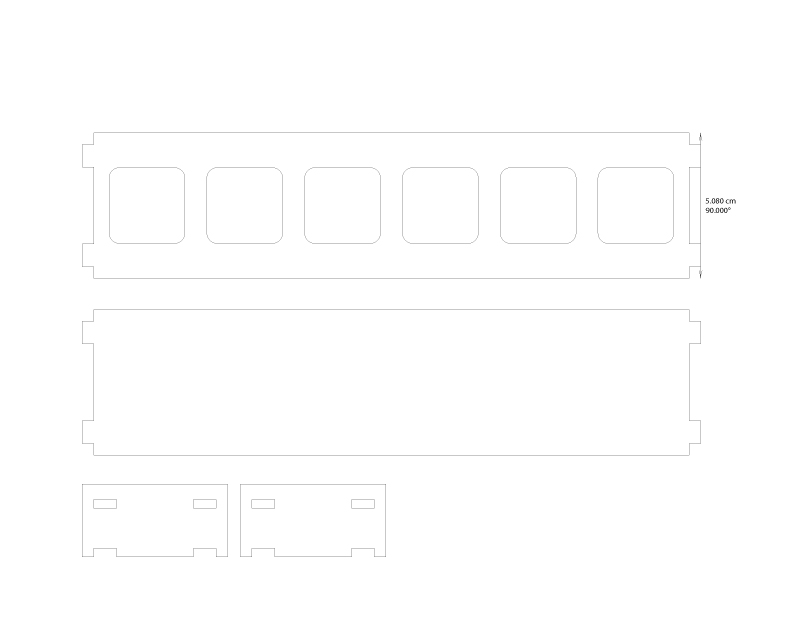
Once I had the basic idea in place, I created the basic layout in Adobe Illustrator. Given that the laser cutter requires files to be in a vector based format, this was a crucial part of the initial setup.
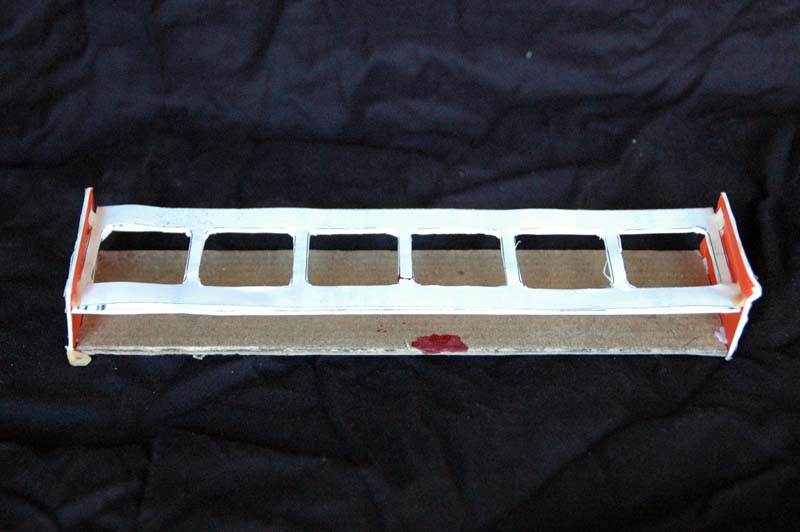
I then printed out the file on paper and used it as a template, to make a quick mock-up in mat board, which I cut with a basic Exacto knife and assembled, so see if my basic structure made sense.
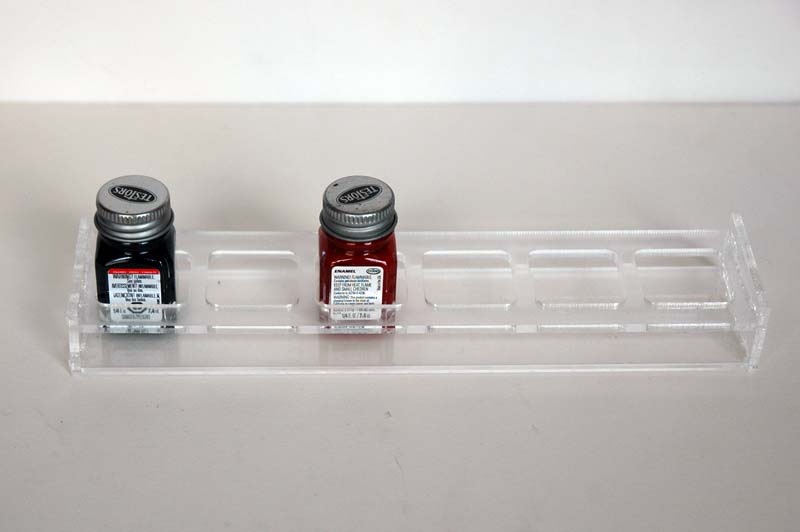
So far so good. The next phase was to do a test using the acrylic stock, and see how that performed. I cut the acrylic and assembled the pieces, using a special plastic adhesive.
Pretty good, but the holes to put the bottles in were a nudge generous (but still usable), so I immediately revised the illustrator file to tighten the tolerances just a bit, and prepared for a second printing.
Now this rack is designed specifically to hold the small, square Testors bottles, but the other sort of paint that I often use is the Tamiya Acrylics, which would need a different configuration.
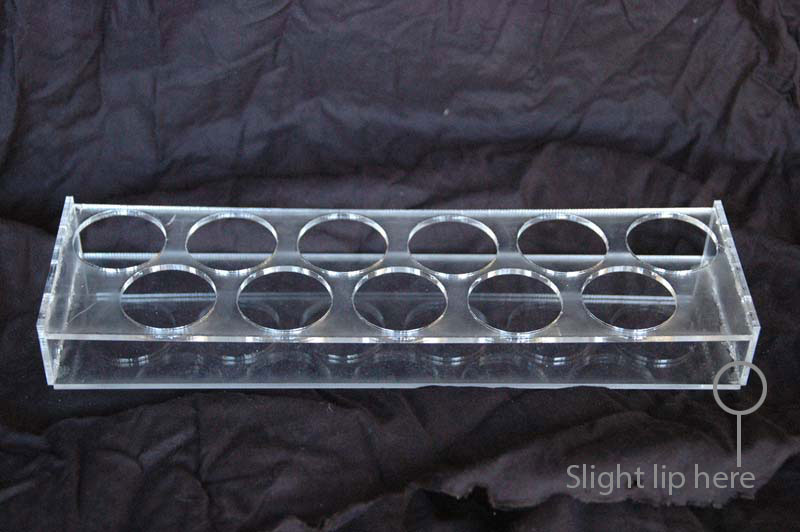
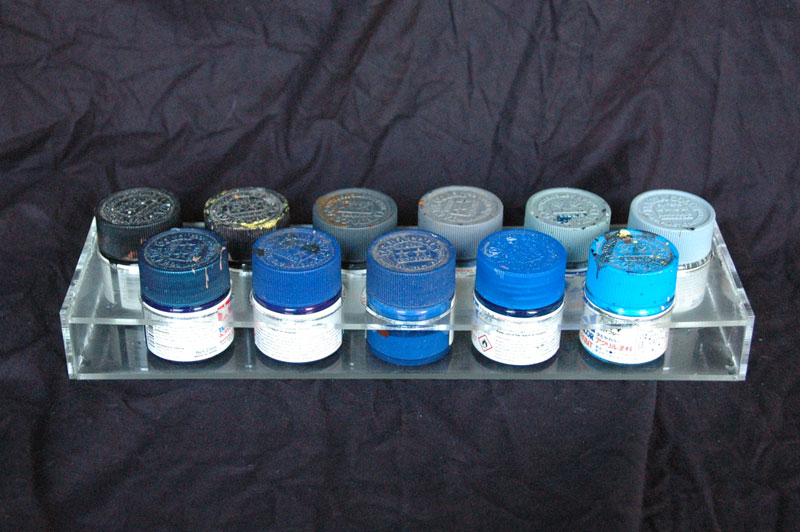
That in mind, I decided for a layout that would offset two rows of bottles, in order to maximize space. The Tamiya bottles have colored caps to help with quick identification, and The transparency of the acrylic would help compensate for any degree to which the front row might slightly obscure another bottle.
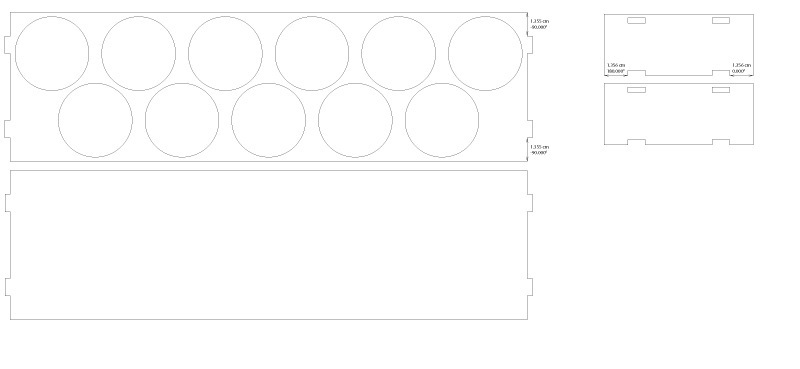
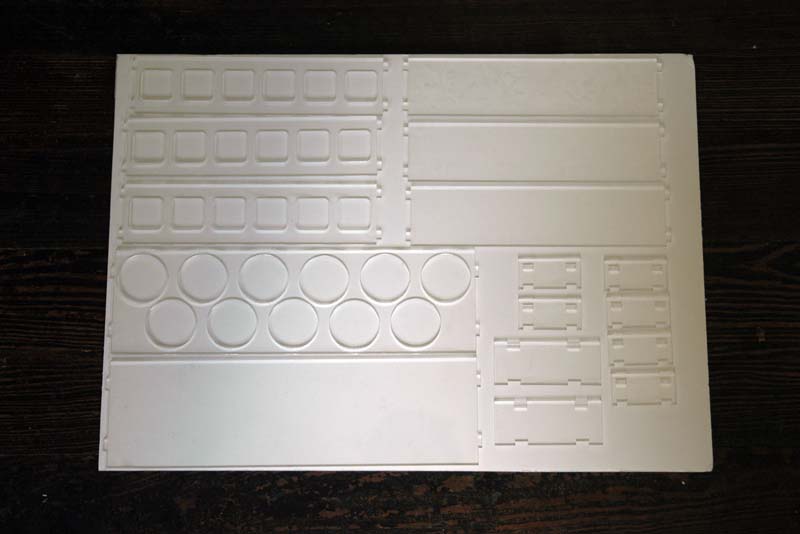
To make good use of my time, I brought both the revised square bottle cutting template, and the new round bottle template. Both cut successfully, providing me with a nice selection of new pieces ready to assemble.
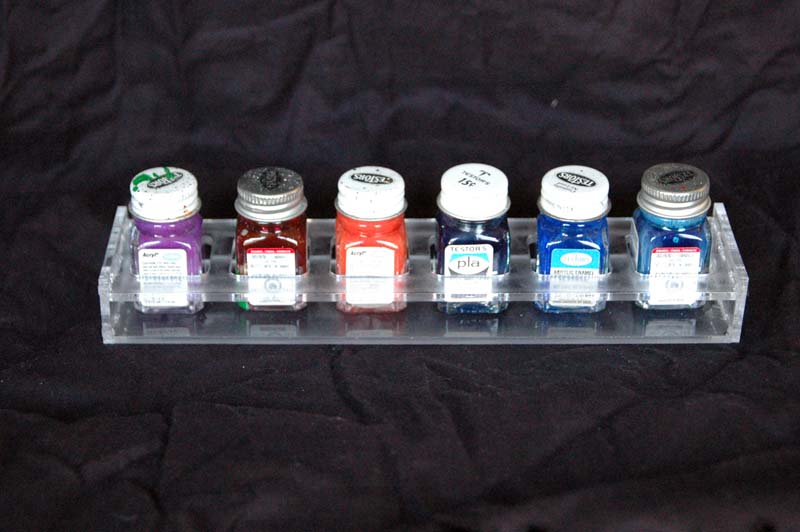
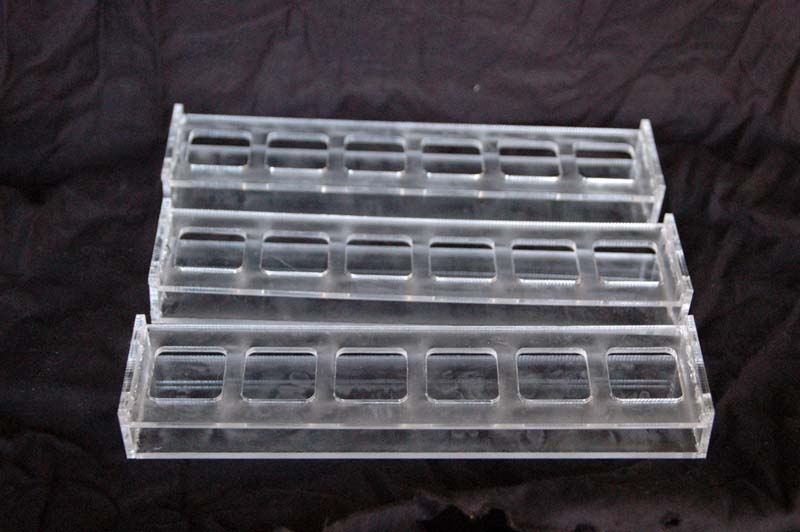
The new revised Testors bottle racks worked out quite nicely. I made several of those, and immediately put them into service.
Now the rack for the Tamiya paints cut just fine, but as I went to test out the prototype, I discovered two minor errors..
The first error was in the placement of the peg-holes on the legs. They were off my just a nudge from center, which means that the edges were not fully flush on the assembled rack. Fortunately, they were consistent in distance with the proportions of the pegs, so this did not interfere with assembly.
Now the other issue I discovered is that not all of the holes were the exact same proportion, so the tolerances on some of them were unforgiving when it came time to test the rack with paint bottles.
The rack does accommodate the larger round Testors Model Master bottles, so this was not wasted effort or material, but it serves as a cautionary note to be sure and double-check one’s dimensions before sending to the machine, or as the old carpenter’s adage puts it : “Measure twice, cut once” !
So in light of this discovery, I duly adjusted and double checked my files and set up a new round of cutting the following week. That day’s work brought success, with three brand new trays with perfect tolerances in all dimensions!
So I am really rather happy with my progress so far in using these tools. These are items that conventional cutting machinery would have experienced a far greater amount of time and difficulty with, particularly in using acrylic/Plexiglas as the material!
I am very much looking forward to seeing where I can go next!

